![]()

Seaboard Properties
Bringing People and Homes Together
Seaboard Properties
Bringing People and Homes Together
Top Real Estate Offers in Pattaya


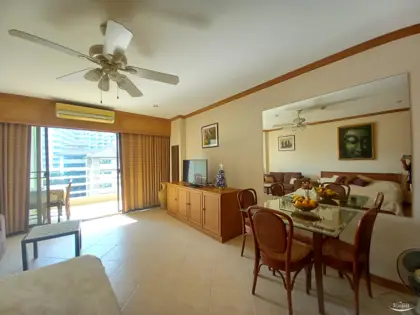
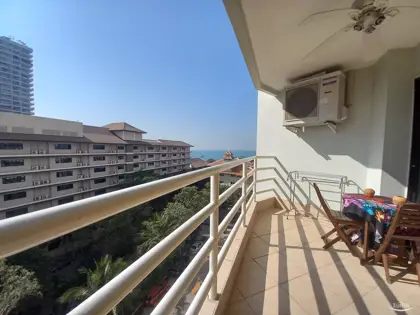
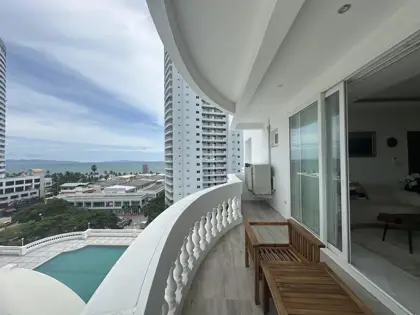
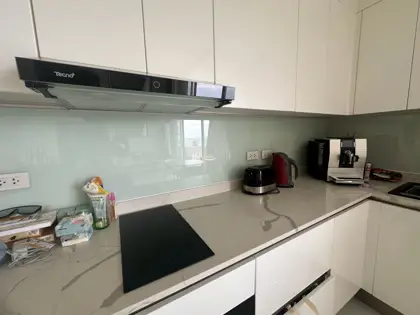
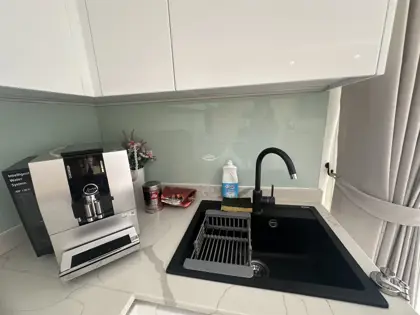
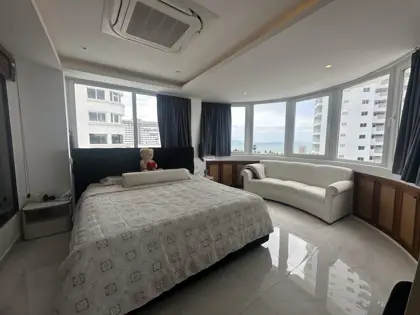
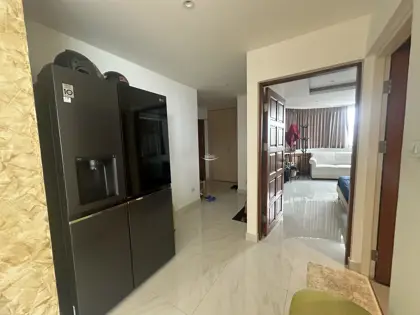
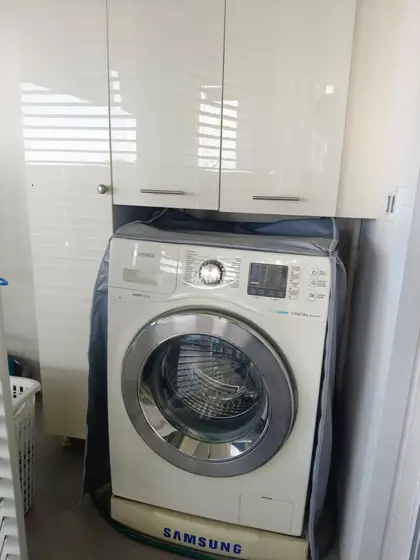
View Talay5 D Condominium for Rent in Jomtien Beach
฿
20,000/mth


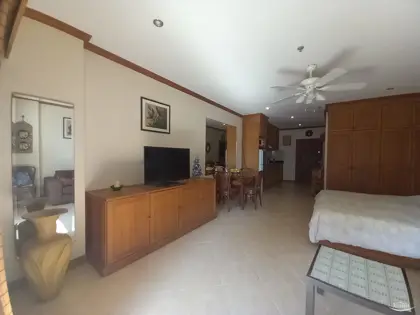


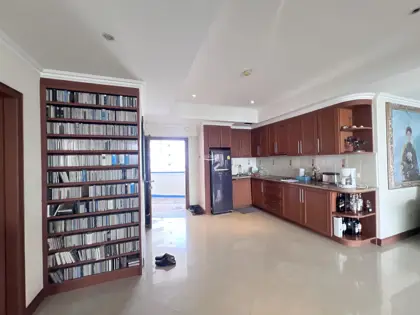
View Talay 5 C Studio Condo for Sale in Jomtien Beach
฿
3,300,000


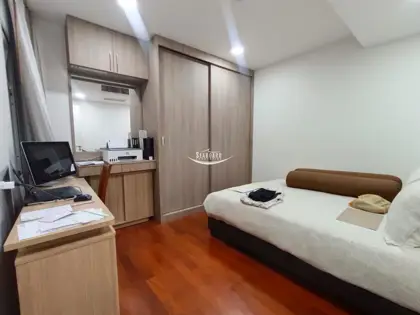
Jomtien Complex 2 Bedroom Condo for Sale in Foreign Ownership
฿
7,950,000


-828651.webp)


Jomtien Plaza Condo for Sale on Jomtien Beach
฿
9,500,000


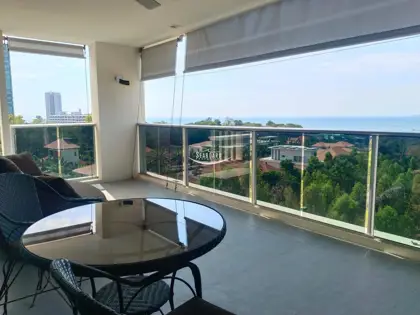
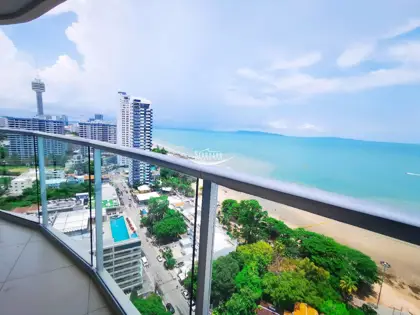
View Talay 3 Beachfront Condominium for Rent in Pratumnak Hill
฿
55,000/mth
Seaboard Properties
Your Pattaya Real Estate Agency | Quality Condos, Houses & Villas for Sale and Rent
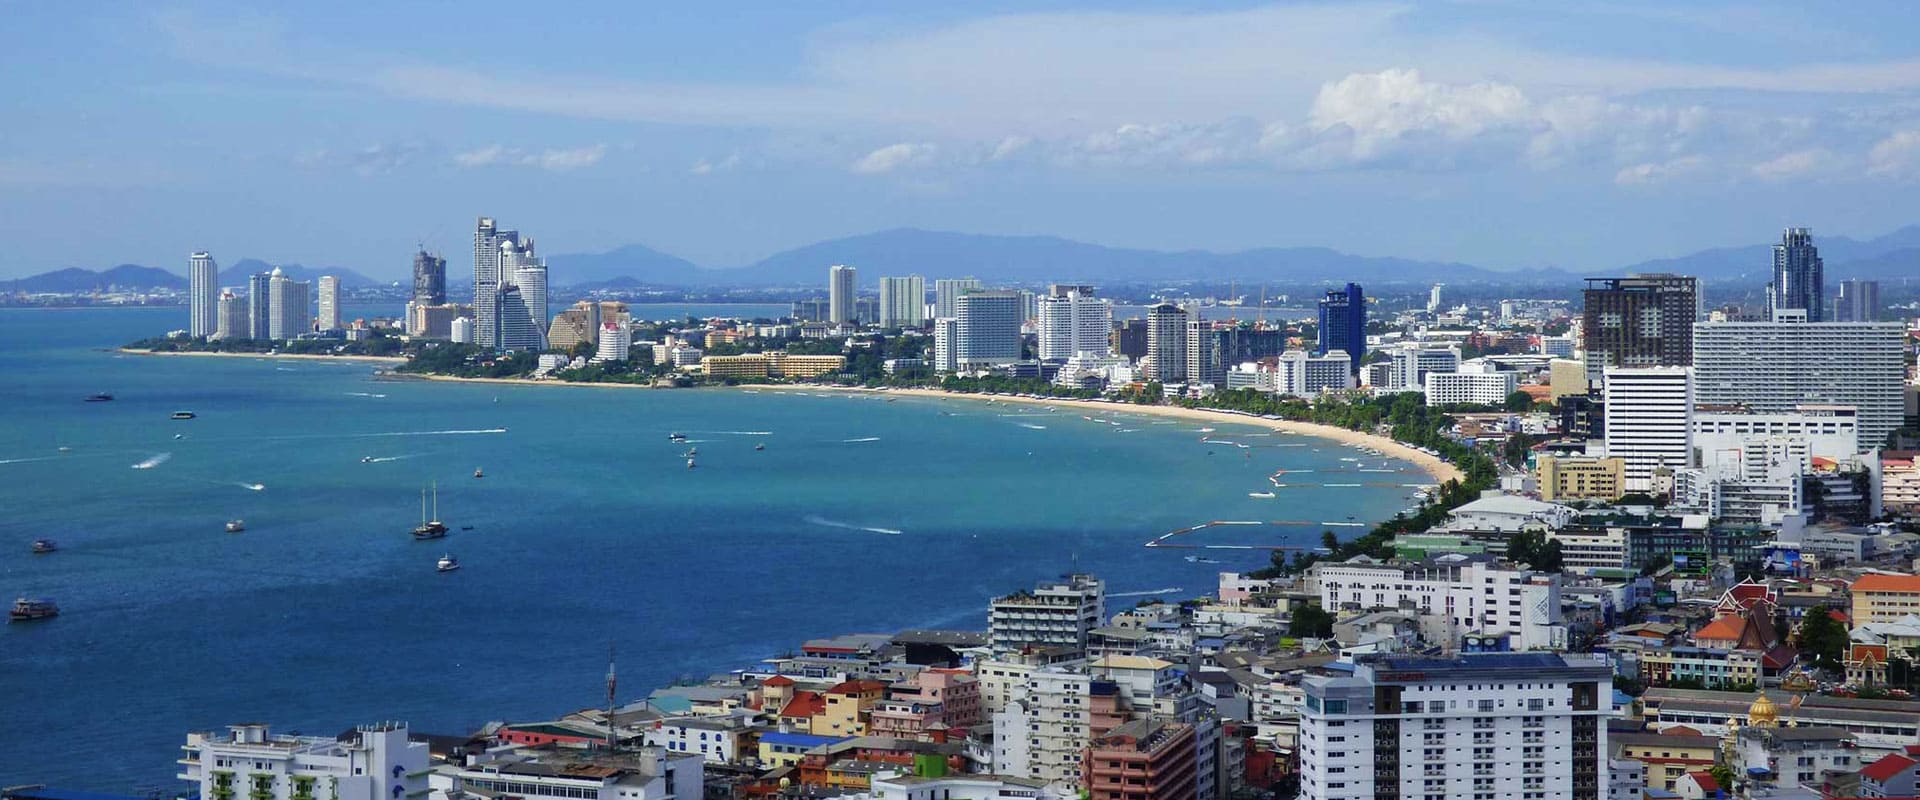
Pattaya is a prime destination for purchasing or renting a home, offering options to suit various tastes and budgets. From beachfront condos to private pool villas, Pattaya presents excellent investment opportunities and attractive neighborhoods for both permanent residences and vacation homes. Explore a variety of properties, including ocean-view condos and affordable houses with pools.
Find your Pattaya Property for Sale and Rent
Our Property agency provides a full suite of real estate services in Pattaya, ensuring a seamless experience for buyers, sellers, and renters alike. With local expertise, personalized support, and a client-first approach, we are committed to meeting all of your property needs.
Buying Real Estate in Pattaya
Whether you’re a first-time home-buyer, an investor, or looking for a vacation property, we help you find the right property in Pattaya. From initial consultations to negotiations and closing, our team provides expert guidance to ensure a smooth, successful transaction.
Selling Real Estate in Pattaya
Maximize your property’s value with our proven selling strategies. We offer comprehensive market analysis, effective property staging, professional marketing, and a vast network to help your property reach qualified buyers quickly and efficiently.
Renting Real Estate in Pattaya
Our rental services connect tenants and property owners for stress-free rental experiences. We handle every aspect, from property listings and tenant screenings to lease agreements and ongoing support, ensuring both owners and tenants have a positive rental experience.
With a deep understanding of Pattaya’s real estate market, we’re here to provide reliable, end-to-end services that make buying, selling, or renting a breeze. Contact us today to learn how we can support you in achieving your real estate goals.
Why Choose Seaboard Property as Your Pattaya Real Estate Agency
Seaboard Properties Agency Pattaya is a reputable German-Thai real estate consultancy established in 2002. Our dedicated and friendly team of real estate professionals possesses extensive experience in the Pattaya property market, ensuring that we provide exceptional service to clients looking to rent, buy, or sell their homes.
Two Conveniently Located Offices in Pattaya
We help numerous clients every year, such as buyers, sellers, landlords, and tenants. Our focus is on delivering reliable and transparent service, upholding our strong reputation and ethical values. With a wide-ranging residential database, we have a vast selection of properties in and around Pattaya for sale and rent to meet diverse client requirements. Our goal at Seaboard Properties is to assist you in finding your ideal home in Pattaya.
Expert Guidance Every Step of the Way
With extensive market knowledge and industry expertise, we offer clear and reliable guidance to help you make informed property decisions.
Proven Track Record of Success Since 2002
Our team's robust portfolio and track record of successful transactions demonstrate our commitment to achieving optimal outcomes for our clients, whether they are buying, selling, or investing.
Explore Condos, Houses, and Pool Villas for Sale and Rent in Pattaya
Explore a range of properties in Pattaya to match your lifestyle, from serene condos to spacious family homes and luxurious pool villas. Find the perfect fit for sale or rent to meet your specific requirements.
Find your perfect Condo in Pattaya
Experience the convenience and modern amenities of Pattaya’s premier condos, ideal for city living. Choose from waterfront properties with stunning sea views, central city condos with close access to shopping and entertainment, or quieter communities designed for relaxation.
Find your perfect House in Pattaya
Explore our listings of private houses, perfect for families or those seeking a more spacious, residential setting. These homes offer privacy, larger living areas, and are often situated near schools, parks, and essential amenities.
Discover Pool Villas in Pattaya
Indulge in the ultimate tropical lifestyle with our luxurious pool villas. These properties offer exclusive, private swimming pools, beautifully landscaped gardens, and spacious interiors, perfect for relaxation or entertaining in style.
Our team is here to help you find the perfect property in Pattaya, whether you’re looking to buy, rent, or invest. Contact us today to explore available listings and start your journey to finding your ideal home.
Buying and Renting Real Estate in Pattaya with Seaboard Property Agents
Seaboard Properties offers a diverse portfolio of resale listings and new property developments. Our dedicated agents provide expert guidance tailored to your needs, whether you're looking for a new home or an investment opportunity. We are committed to helping you secure the perfect property with confidence.
Property ownership options for Foreigners in Thailand, a Introduction to Property Ownership in Thailand
Types of Property Ownership Available
Foreigners in Thailand have property ownership options such as leasehold agreements for up to 30 years, extendable for another 30 years, and purchasing condominiums where they can own up to 49% of the total area. These options offer security and flexibility for those interested in owning property in Thailand.
Considerations for Foreign Buyers
Foreigners can buy property in Thailand, but legal considerations are important. Due diligence and a local attorney can help protect your investment. Be aware of taxes like transfer fees and income tax. Thailand offers investment opportunitie
s through leasehold agreements or condominium purchases. With proper planning, investing in Thai property can be profitable and enjoyable. Leveraging local expertise and staying informed about regulations is key to success in the Thai property market.
Comprehensive Support for Foreign Buyers in Pattaya
Navigating the Pattaya real estate market as a foreign buyer can be complex, but our experienced team is here to simplify every step. We offer specialized services tailored to the unique needs of international clients, ensuring a smooth, transparent, and rewarding property-buying experience.
Understanding of Local Regulations for Foreign ownership
Foreign buyers face unique restrictions and processes when purchasing property in Thailand. Our experts provide guidance on legal considerations, such as property ownership structures, leasehold and freehold options, and visa requirements, so you can proceed confidently and securely.
Personalized Property Selection for Foreign Buyers
With an in-depth knowledge of the Pattaya market, we help you find the property that best fits your lifestyle, whether it's a holiday condo, an investment property, or a luxury villa. Our team listens to your preferences and finds listings that meet your standards and objectives.
Financial and Legal Support for Foreign Buyers
We work with trusted local banks, attorneys, and financial advisors to assist you with financing, legal documentation, and tax considerations, ensuring a hassle-free experience from offer to ownership.
Ongoing Assistance Beyond the Purchase
We’re committed to providing support even after the transaction is complete. From property management services to advice on local amenities, our team is here to help you settle in and make the most of your new property in Pattaya.
Buying a Condominium in Pattaya, as a Foreigner
Buying a condominium in Pattaya can be an appealing investment opportunity or a desirable place for personal residence. Here are some key points to consider:
Foreign Ownership options: Foreigners are permitted to own up to 49% of the total area of a condominium project. Be sure to verify the ownership structure of the condominium you are considering.
Financing the Purchase Process:Payments can be made in various currencies; however, it is often advisable to use Thai Baht. Please note that you may need a bank account in Thailand to facilitate the transfer.
Due Diligence Checklist: Conduct thorough research on the property, including verifying the developer's credentials, reviewing the project's history, and assessing the condition of the property.
Complimentary Property Services
In addition to the purchase price, consider additional expenses such as taxes, maintenance fees, and utilities. Our Property Agency Service is complimentary for both Buyers and Tenants.
Long-Term Property Value Considerations: Consider the long-term value and purpose of your investment, taking into account market trends and personal usage.
If you have specific questions about any aspect of purchasing a home in Pattaya, please feel free to ask!
Purchasing a House in Pattaya, Jomtien, Thailand
Buying a house in Pattaya involves several important considerations and steps. Here is a helpful guide:
Foreign Ownership Regulations: Foreigners are prohibited from owning land in Thailand; however, they are permitted to own a house. One option is to purchase a house with a long-term land lease, typically lasting 30 years, with the possibility of extensions. Alternatively, a foreign investor can establish a Thai company that is authorized to buy land on their behalf.
Location Research Tips: Pattaya features a variety of neighborhoods, each with its unique characteristics. Explore different areas to identify one that meets your needs regarding amenities, proximity to the beach, schools, and other factors.
Contract and Payment terms: Once you have selected a property, you will typically sign a sale and purchase agreement. This agreement usually requires a deposit of approximately 10% of the purchase price, with the remaining balance due at the time of ownership transfer.
Ownership Transfer Process:
The transfer of ownership typically occurs at the local land office. Both the buyer and seller must be present, and any applicable taxes and fees must be paid at this time.
Importance of Consulting a Local Real Estate Agent:
Engaging a reputable local real estate agent can provide you with invaluable insights and help navigate the purchasing process smoothly.
If you have specific questions about any aspect of purchasing a home in Pattaya, please feel free to reach out to our team!
Renting Residential Property in Pattaya
Renting property in Pattaya, Thailand offers a variety of options to fit different lifestyles and budgets. From modern condos with ocean views to spacious villas in peaceful neighborhoods, there is something for everyone.
Monthly rents vary based on location and amenities, with most properties fully furnished for convenience. Pattaya's vibrant culture, beautiful beaches, and lively nightlife make it a popular destination for locals and expats alike. Whether you're looking for a long-term home or a short-term stay, Pattaya's rental market has appealing choices to offer.
Renting a Condo in Pattaya
Renting a condominium in Pattaya offers a distinctive lifestyle opportunity that combines comfort with modern amenities. With its stunning beaches, lively nightlife, and rich cultural experiences, Pattaya is an ideal destination for both short-term vacations and long-term stays. Many condominiums provide breathtaking ocean views, picturesque sunset vistas, access to swimming pools and fitness centers, as well as proximity to local markets, entertainment venues, and restaurants.
Choose from a Wide Selection of Rental Condominiums
Whether you are seeking a cozy studio or a spacious multi-bedroom unit, there is a wide array of options available to suit various budgets and preferences. Additionally, the friendly local community and diverse expatriate population make it easy to adapt and feel at home. Overall, renting a condominium in Pattaya is an excellent way to immerse yourself in this vibrant coastal city while enjoying the comforts of modern living.
Renting a House in Pattaya
Pattaya, Thailand, is a vibrant destination renowned for its beautiful beaches and lively atmosphere, making it an ideal location for renting a house. With a wide range of options available, from luxurious pool villas to affordable bungalows, potential renters can find a home that suits their lifestyle and budget. The city's proximity to the ocean provides stunning views and easy access to water activities, while its diverse dining and entertainment scene ensures there is always something to do. Many rental properties come fully furnished, offering a hassle-free living experience. Whether for a short-term getaway or a long-term stay, renting a house in Pattaya presents a unique opportunity to experience the rich Thai culture while enjoying the comforts of home.
Investment Properties in Pattaya. Why invest in Pattaya Real Estate
Investing in the thriving rental market in Pattaya offers numerous advantages for real estate investors. T
he city's strong tourism sector and growing expatriate community create a high demand for rental properties. Rental yields
typically range from 5% to over 8%, providing a reliable income stream for landlords. T
he vibrant lifestyle and amenities in Pattaya enhance the overall investment experience. With
the potential for long-term benefits, investing in rental properties in Pattaya can be a lucrative opportunity. Our property office can provide tailored advice and assistance to help you navigate the real estate market in Pattaya. Contact us today to
explore the potential of investing in real estate in Pattaya, Thailand.
Off-Plan Property Investments and New Developments
Off-plan condo developments have become increasingly popular in recent years, offering buyers a chance to purchase properties in modern buildings with the latest amenities. Investing in these properties before they are completed allows individuals to customize their choices to suit their lifestyle and potentially benefit from property value appreciation. At Seaboard Properties, our experienced agents carefully assess all relevant factors to determine if an off-plan condo or house fits your investment objectives. Whether you are looking for a new seaside getaway or a strategic investment, we have a wide range of residential listings in and around Pattaya, along with the expertise needed to navigate the ever-changing real estate market successfully. Your ideal home or investment opportunity is waiting for you!
Buying Pre-owned Property in Pattaya
Investing in pre-owned property in Pattaya, Thailand, presents an appealing opportunity for both local residents and foreigners. This vibrant coastal city, known for its lively nightlife and beautiful beaches, offers a variety of options, from upscale beachfront condos to charming pool villas. Before making a purchase, it is important to thoroughly research the property's background and legal standing to ensure all documentation is accurate and complete. Working with a reputable real estate agent can offer valuable guidance and streamline the buying process, especially for non-Thai buyers. Understanding the local laws and regulations governing foreign ownership is also essential. With the right approach, buying a pre-owned property in Pattaya can be a lucrative investment and provide a rewarding lifestyle in this tropical destination.
Pattaya's Real Estate Market Growth Projections (2025-2028)
Fueled by economic recovery, increased tourism, and ongoing infrastructure development, these factors present a promising opportunity for potential investors as property demand is projected to increase. By conducting comprehensive research and staying informed about market trends, investors can strategically position themselves to benefit from the opportunities in this dynamic property market. With a range of suitable options to choose from, individuals interested in investing in Pattaya will discover numerous opportunities to leverage the growing economic prospects in the area. Making wise investment decisions as the market progresses could result in significant returns in the future.
Seaboard Properties: Your Trusted Real Estate Consultants in Pattaya
Our aim is to assist you in navigating the intricate Thai real estate market. Whether you are thinking about buying or exploring rental possibilities, our team is ready to lead you through each stage of the process. With two conveniently situated offices, we provide specialized guidance to meet your individual requirements, guaranteeing that you make well-informed choices.
Buy, Rent, and Sell Real Estate with Confidence.
Count on Seaboard Properties to be your trusted partner in Pattaya, ensuring a seamless and pleasant real estate experience as we connect you with your ideal home.
Seaboard Properties: Bringing People and Homes Together since 2002.
Latest Properties for Sale


The Park condominium Jomtien for Sale and Rent
฿
6,600,000
฿
35,000/mth


The Elegance Condominium
฿
9,900,000


-845688.webp)

Grand Avenue Condominium for sale and rent
฿
3,800,000
฿
20,000/mth
View Talay5 D Condominium for Rent in Jomtien Beach
฿
20,000/mth


The Sanctury Condominium for Rent and for Sale in Wong Amat Beach
฿
7,900,000
฿
59,000/mth
Latest Properties for Rent
The Park condominium Jomtien for Sale and Rent
฿
6,600,000
฿
35,000/mth


Espana resort for Rent
฿
15,000/mth


View Talay 6 Condominium for Rent at Central Pattaya
฿
30,000/mth
Grand Avenue Condominium for sale and rent
฿
3,800,000
฿
20,000/mth


View Talay5 D Condominium for Rent in Jomtien Beach
฿
20,000/mth
Pattaya Investment Properties


View Talay 3 Beachfront Condominium for Rent in Pratumnak Hill
฿
55,000/mth
Featured Property Developments in Pattaya


Your Top Choice for Quality Rental and Sale Properties in Pattaya


Main Office
![]()
Seaboard Properties Co., Ltd.
Our office is located at Lobby View Talay 7 Condominium.
505/31 Moo 12, Thappraya Road, Nongprue, Banglamung, Chonburi 20150 Thailand.
Branch Office Central Pattaya
![]()
Condo6.com Co. Ltd.
Our office is located at Lobby View Talay 6 Condominium
243/25 Moo 10, Pattaya Second Road, Nongprue, Banglamung, Chonburi 20150 Thailand.
Branch Office Jomtien Beach
![]()
Condo7.com Co. Ltd.
Our office is located at Lobby View Talay 7 Condominium.
505/31 Moo 12, Thappraya Road, Nongprue, Banglamung, Chonburi 20150 Thailand.
Reviews
What our clients are saying

"I found the staff very friendly and professional. I rented a condo long-term and was happy with the condo and the service. I highly recommend the Seaboard Property Office. "
Areerut Sinsupun

"In the last few years, I have bought three condos recommended by Seaboard Properties for Investment, and all three are rented out. I highly recommend this agency because of its honesty, experience, strong customer orientation, and professionalism. If there were more than five stars, I would rate all of them. It is by far the best agency that I know in Pattaya/Jomtien."
Roger Immel

"I have just recently purchased my first international property in Thailand through Seaboard Properties. The team at Seaboard consulted and advised me through the contract and settlement process, the currency exchange, and the issue of the title deed (Chanote). The whole process was handled professionally with thorough advice and feedback along the way and all done with honesty, charm, and a warm Thailand smile. Today I could not be happier with my purchase, it is an excellent condominium in a beautiful beachfront location. I would highly recommend this agency for the purchase of their first overseas property to anyone. The whole experience was a rather quick, stress-free, and pleasant one. I can't retire now and live there for another 2 years. Seaboard as the property manager has already found me a long-term tenant and the property is currently earning me a good rental return. I am a very happy customer of Seaboard Properties Agency Pattaya. "